With over 800 million active Instagram users, it’s no wonder expressions like “Insta-famous” and “Insta-worthy” have made their way into popular vocabulary. Instagram has influenced culture immeasurably and it’s also opening up new possibilities for independent businesses.
This social platform, which is highly geared toward lifestyle and visual identity, allows for a more direct interaction between consumers and brands. Instagram is about more than what you sell, it’s about your company’s style and values. As long as you share images and content that reflect your brand and speak to your audience, the odds customers will interact with your posts are very high.
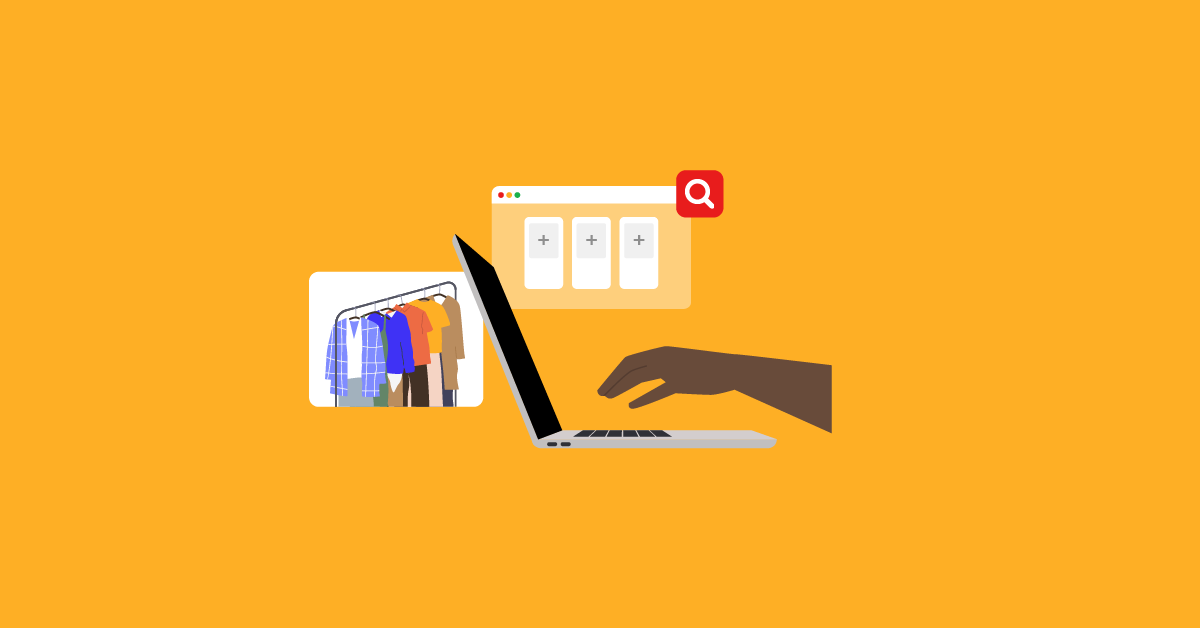
But then what? If you already own an Instagram page (which you definitely should) you may have noticed that the platform doesn’t allow you to include any links in your posts. Although you can always direct followers to the website link that’s in your bio, that’s one more step consumers have to take to land on your site, and one more risk you take of losing them along the way. Luckily, there’s now a highly efficient alternative to this problem: product tagging.
Shoppable posts let customers and followers know about an item’s price, description and availability just by hovering over an image. Once they click, they will then be redirected to the section of your eCom shop that’s relevant to this product so they can complete their transaction. Better yet, this service works through Facebook which means you can also use inventory tagging for targeted Facebook Ads.

Here is a step by step guide to setting up shoppable posts on your store’s Facebook and Instagram accounts:
First, there are a few must-have elements you’ll need to benefit from this social marketing tool. Make sure you have set up a Facebook Business Page for your shop and connected it to your eCom.
1. Set up the tagging tool in Lightspeed eCom

In order for the tagging tool to work efficiently, it’s important that your social pages can communicate adequately to your Lightspeed eCom store. To get started, head to your store’s back office and go to ‘Settings’ > ‘Feed’ > ‘Custom Feeds’ and ‘Add feed’. You’ll then want to click on the ‘Copy from’ tab and select ‘Facebook for Business’ from the drop-down menu.
Next step is to close the code page and copy the URL, adding the code ‘/?google=true’ at the end. This will allow you to include Google categories as well.
2. Set up your Catalog in Facebook

To add a new product catalog in your Facebook Business Manager, head to the backend of your business’ page and go to “Business Manager Settings”. Click on ‘People and Assets’, then click on ‘Product Catalogs’. From there, click on ‘Add New Product Catalog’ and select ‘Create a New Product Catalog’. Go ahead and name this catalog and select the types of products you want to add in it. You can then click on ‘Create Product Catalog’ and enter a product’s specific name.
Once you’ve added your new product and made sure ‘Products’ is selected, click on the ‘Add Items’ button. This will open your Catalog Manager. This tool also lets you decide when you want a post to show up on your page. All you need to do is select ‘Scheduled Upload’, determine the schedule that works best for you, enter your custom feed URL and start uploading!
Once these steps are completed, finish off by clicking on ‘View Products’ where you can verify that your newly added merchandise shows up in the ‘Products’ tab. In order to correctly enter a product in your catalogs, you’ll need to provide some key information like its price, description and a link to its page on your eCom site. You can always go to the ‘Diagnostics’ tab and scroll down to make sure you haven’t forgotten to include anything.
3. Set up tagging on Instagram
Now that shop setting and catalogs have been set up on your store’s Facebook page, every product you’ve added to your back end can be tagged with product details and your website’s URL. To use this tool on Instagram, upload a product image of your choice. This can be a post from an influencer using your product or even a picture of a new collection featuring several items.
Once the ad is uploaded, add a description and location as you normally would and select ‘Tag Products’. Much like the ‘Tag people’ tool, this feature allows you to tag the products directly on the image. You can now share your post and start selling!
Shoppable posts allow you to market your products in a more authentic way while also providing all the key information your current and future customers will need to complete a purchase. You’re really just a few clicks away from making more sales!
These setup steps are limited.
Given that everyone's inventory is different, the setup process may vary. If you need any assistance, please contact our support line. Our experts will be happy to walk you through it.

News you care about. Tips you can use.
Everything your business needs to grow, delivered straight to your inbox.